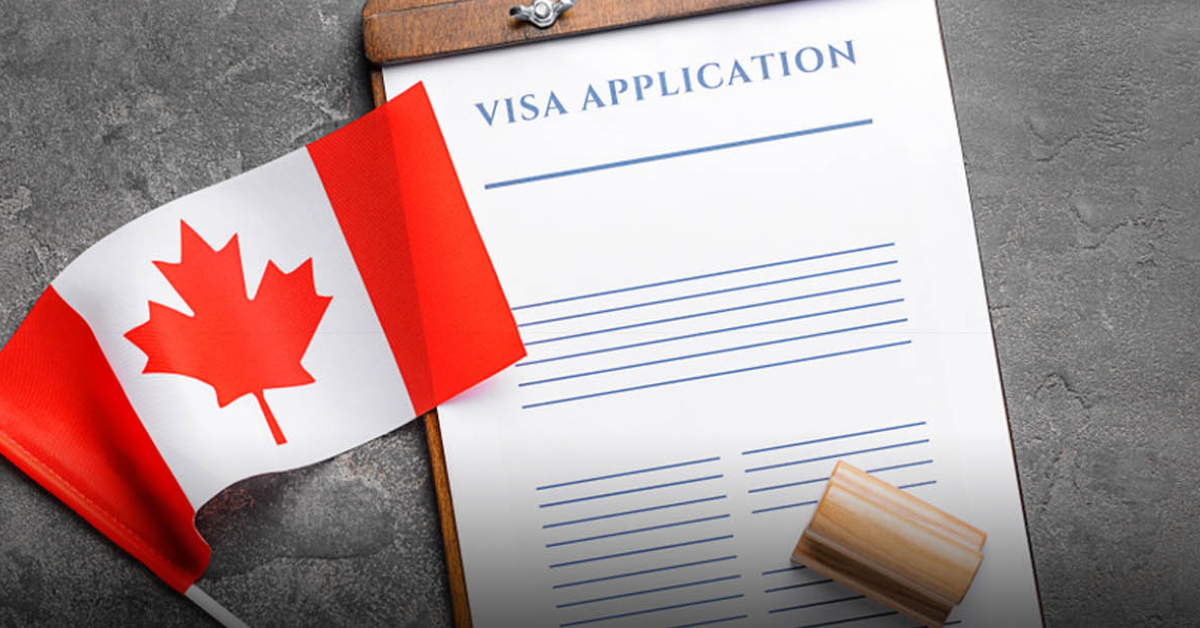
Are you dreaming of visiting or moving to Canada from Pakistan? Whether you want to explore the breathtaking landscapes, pursue higher education, or start a new job, obtaining a Canadian visa is your first step. But how do you apply? What documents do you need? And how can you increase your chances of approval?
This guide will walk you through the entire Canada visa application process, making it simple, clear, and hassle-free. Let’s get started!
Types of Canadian Visas for Pakistani Applicants
Before applying, you need to identify the right type of visa based on your purpose of travel. Canada offers different visa categories, each with specific requirements:
1. Visitor Visa (Temporary Resident Visa – TRV)
If you plan to visit Canada for tourism, family visits, or short-term business trips, you need a Visitor Visa.
- Valid for up to 6 months.
- Can be single-entry or multiple-entry.
- Requires proof of financial stability and strong ties to Pakistan to ensure you return after your visit.
2. Study Permit
Are you a student aiming to study in Canada? You will need a Study Permit.
- You must have an acceptance letter from a Canadian Designated Learning Institution (DLI).
- Proof of sufficient funds to cover tuition fees, living expenses, and return travel.
- Language proficiency proof (like IELTS or TOEFL scores).
3. Work Permit
If you’ve secured a job offer from a Canadian employer, you will need a Work Permit.
- A valid job offer is required.
- Some jobs require a Labour Market Impact Assessment (LMIA).
- Proof of qualifications and work experience.
Step-by-Step Guide to Applying for a Canada Visa
Now that you know which visa to apply for, let’s go through the application process step by step.
Step 1 – Check Your Eligibility
Before starting your application, visit the Government of Canada’s official website to check eligibility requirements for your visa category.
Step 2 – Gather the Required Documents
The documents you need depend on your visa type, but generally include:
- Valid Passport (must be valid for at least 6 months beyond your intended stay).
- Recent Passport-Sized Photos (as per Canada’s photo specifications).
- Proof of Financial Support (bank statements, tax records, sponsorship letters, etc.).
- Purpose of Visit Documents (invitation letter, university acceptance letter, job offer, etc.).
- Travel History (if applicable, include previous visas and entry stamps).
- Medical Exam & Police Clearance Certificate (for some visa types).
Step 3 – Submit Your Application
There are two ways to apply:
1. Online Application
- Create an account on the IRCC website.
- Fill out the required forms and upload scanned copies of your documents.
- Pay the visa application fee online.
- Submit your application and wait for further instructions.
2. Paper Application (Through Visa Application Center – VAC)
- Download the visa forms from the IRCC website.
- Fill them out manually and attach physical copies of documents.
- Visit the nearest Visa Application Center (VAC) (such as Gerry’s Visa Center in Pakistan) to submit your application and pay the fee.
Step 4 – Biometrics Appointment
After submitting your application, you’ll receive a Biometric Instruction Letter.
- Schedule a biometrics appointment at a Visa Application Center (VAC).
- Bring your passport and biometric letter for fingerprinting and photo submission.
Step 5 – Wait for Processing & Decision
The processing time varies depending on the visa type and workload at the Canadian embassy.
- Visitor Visa: Typically 20-45 days.
- Study Permit: Around 6-12 weeks.
- Work Permit: Varies based on employer and job category.
During this time, track your application status on the IRCC website.
Step 6 – Receive Your Decision
Once processed, you will receive one of the following:
- Approval: You will get a visa sticker stamped on your passport.
- Refusal: You’ll receive a letter explaining why your application was denied. If this happens, don’t panic! You can reapply with improved documentation.
Tips to Increase Your Chances of Visa Approval
Applying for a visa can be nerve-wracking, but following these tips can improve your approval chances:
- Provide Accurate Information: Double-check all details to avoid errors or inconsistencies.
- Show Strong Ties to Pakistan: If applying for a visitor visa, demonstrate reasons why you will return (e.g., job, family, property).
- Meet Financial Requirements: Ensure you have enough money to support yourself.
- Apply Early: Start your application at least 3-6 months before your intended travel date.
- Seek Expert Advice: If unsure, consult an authorized immigration consultant.
Common Challenges and How to Overcome Them
Challenge 1 – Visa Refusal
- Solution: Carefully review the refusal letter and address the issues before reapplying.
Challenge 2 – Long Processing Times
- Solution: Apply early and ensure all documents are complete to avoid delays.
Challenge 3 – Financial Requirements
- Solution: Provide bank statements, income proofs, or sponsorship letters to show sufficient funds.
Conclusion: Take the First Step Toward Your Canadian Dream!
Applying for a Canada visa from Pakistan may seem overwhelming, but with the right guidance, it’s completely doable! Now that you know the step-by-step process, it’s time to start your application.
If you’re serious about traveling to Canada, take action today—gather your documents, apply online, and get ready to explore new opportunities!
Need help with your visa application? Feel free to reach out in the comments or consult an expert for professional guidance.
Good luck! 🍁
